Entdecke dein kreatives Potenzial mit dem DIY Walnuss-Kranz!

In nur wenigen Schritten kreierst du einen einzigartigen Kranz, der deinem Zuhause eine besondere Atmosphäre verleiht.
Und das Beste? Du kannst ihn ganz nach deinem Geschmack gestalten und für jede Saison und jeden Anlass anpassen!

Vielseitig, individuell und ein echter Eyecatcher!


Das brauchst du: 

  • 20 Seeberger Walnüsse Jumbo
  • dünner stabiler Draht (2mm)
  • Unterlage (z.B. Holzstück)
  • Bohrer mit kleinem Bohraufsatz (1,5-2mm)
  • Nadel
  • Zange
    25.09.2024
    in DIY
    Reading time: 4 Minuten
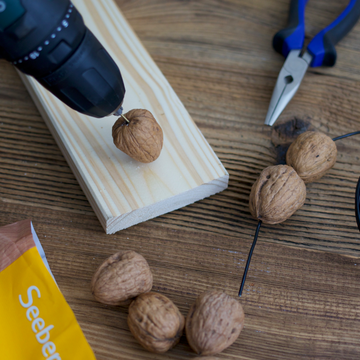
    Bohrmaschine bohrt Walnuss auf Holzbrett, daneben liegen Zange und Draht auf Tisch.

    Step 1 - Let's go

    Take the drill and place the walnut on the base.
    Set the drill to a low setting and carefully drill a hole through the top and bottom of the walnut. Make sure you only apply light pressure to avoid breaking the walnut.

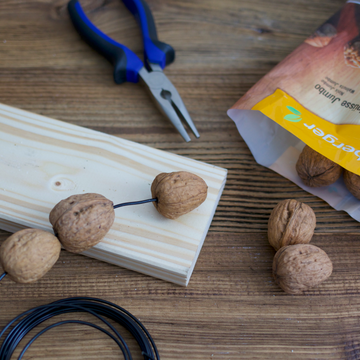
    Nüsse auf Draht gefädelt, auf Holzbrett liegend, mit Zange und Verpackung daneben.

    Step 2 - Thread on the walnuts

    Now thread the pierced walnuts onto the wire.
    To make it easier, the wire should be as straight as possible. If the hole is a little too small, you can enlarge it with a needle.

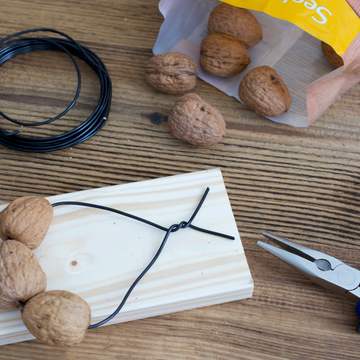
    Walnüsse liegen auf Holzbrett, Draht fädelt sie auf, Zange und Verpackung daneben.

    Step 3 - Close the wreath

    Once all the walnuts are threaded on, close the wreath.
    To do this, bend the ends of the wire together to form a small loop - the best way to do this is with a small pair of pliers!

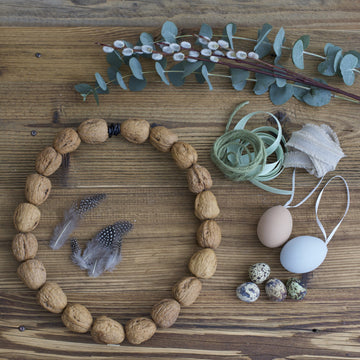
    Walnusskranz liegt auf Holztisch, umgeben von Eukalyptus, Federn, Eiern und Bändern.

    Step 4 - Decorate

    Now comes the creative part: decorate the wreath according to your taste!

    Whether it's ribbons, feathers, eggs or twigs - there are no limits.
    To conceal the wire closure, you can tie a pretty ribbon or bow over it, which also serves as a hanger. You can attach twigs with thin florist's wire and feathers can easily be attached to the walnuts with a little superglue.

    And there you have it - your home-made decoration is ready to be admired!